
Hang up your pictures without making marks on the wall
Here, we tell you more about how you can go about quickly and smoothly hanging up your pictures without tools, in just a few minutes. One of our truly favourite products!
 Do you like decorating, and having a beautiful home? Do you think, as we do, that the integrity of the whole is found in the details? In that case, you must have certainly noticed as well what great impact they have on a room's appearance when you hang up different kinds of pictures.
The subject of your pictures can create the feeling of the whole room, so take your time when you are deciding what you want to accentuate.
When you have decided which pictures you want to decorate your walls with, the next step is to find the perfect placement! Not the easiest task, right? That which can be a little extra stressful, when you are trying to decide where the picture will be best, is the feeling of finality – where I put my screw in the wall is exactly where the picture must hang, regardless of whether I am satisfied. After all, who wants a wall that is peppered with old drill holes?
Furthermore, many of us think that it's a little messy to deal with nails and hammers. Nails which bend, and drills which don't succeed in getting through massive walls, or otherwise tear open larger holes than you intended.
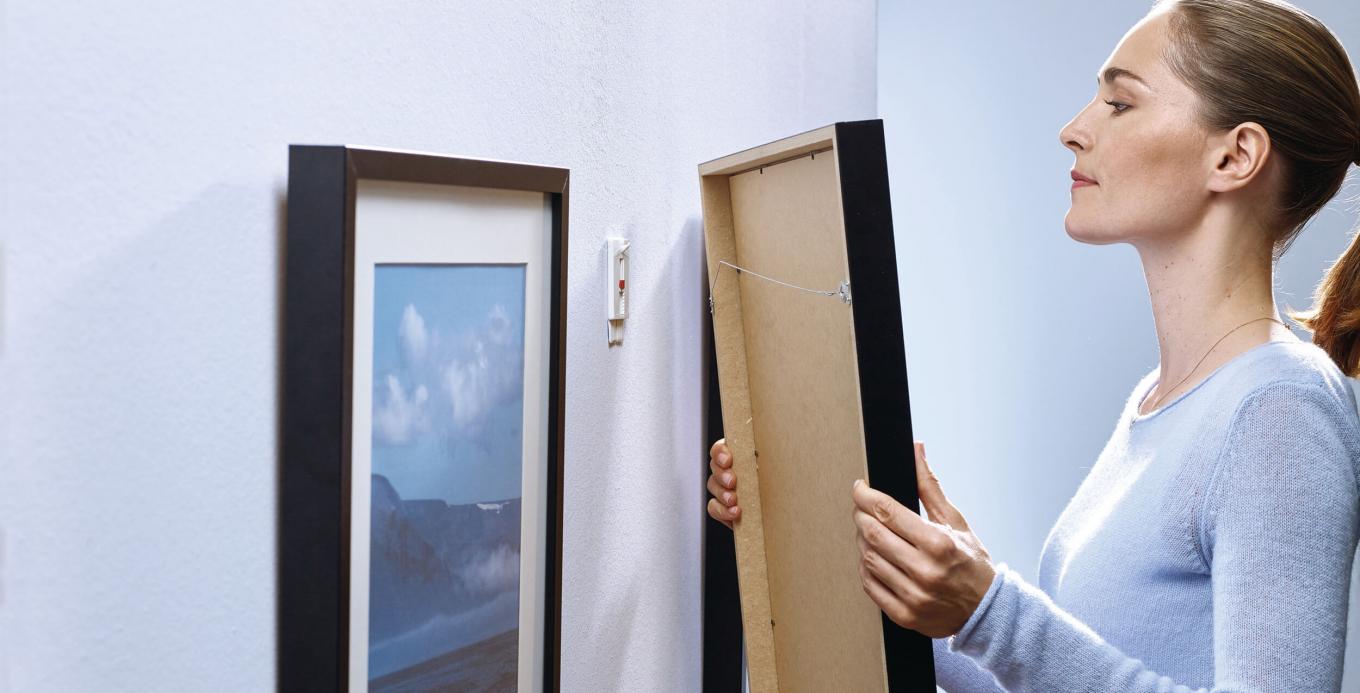
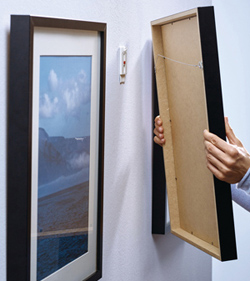
No more tools, no more holes in the walls
Luckily, there is a way to hang your picturesup on the wall, without using nails, drilling or causing ugly marks and holes.
In our range, you'll find nifty self-adhesive nails which are produced by tesa, one of the world's leading manufacturers of self-adhesive products and systems solutions.
Using these clever nails, you'll avoid damaging the wall – something you'll be especially grateful for on the day that you decide to change your pictures around.
Every nail can hold a load of up to 2 kilograms, and fit picture frames of up to 50x70 cm. You can put them into practically any surface – wallpaper, plaster or even tiles. The only material that doesn't work so well to put the nails into is vinyl wallpaper or non-adhesive surfaces such as silicon or PTFE. Anything else works well.
You can change and adjust the height of the nail whenever you like, without taking it down from the wall.
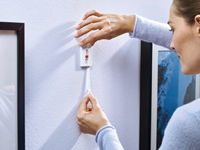
Accompanying instructions
The nails are inserted using the so-called Powerstrips® technology. The mounting is simple and, above all, reliable. You can be sure that your pictures will hang and that the nails will bear the load.
When you buy the nails from us, you will also receive instructions on how you can mount them. By following these, you will be able to ensure that the nails reach their maximum durability. You can even watch how mounting works, step by step, in this short clip.
If you change your mind
 Okay, now you've understood the wisdom of using a solution which avoids nailing and drilling. So far, so good. But we have also implied that this solution takes away the aspect of finality, and what do we mean by that? What happens if you change your mind, and aren't really satisfied with the placement of the picture, or eventually just want to change its place?
As mentioned earlier, the mounting of these nails is based on Powerstrips® technology. This means that the only thing which sits fast inside the wall is the self-adhesive strips – not the nails. If you want to take the nails away, you can take away the self-adhesive strips in a simple manner, without leaving any sticky marks behind. After that you can even reuse the nail, together with a new adhesive strip.
Thanks to something called flexible polymer chains, the nails have a strong self-adhesion ability, which means that they sit securely attached to the wall. The nails are equipped with a strip, and when you pull that strip the polymer chains are released and change form, so that they no longer are stuck to their foundation. It is due to this that you can easily remove the strip, without leaving any visible traces afterwards. Here you can see how simple it is to take the nail out of the wall.